Build guide
Build your poker table, step by step
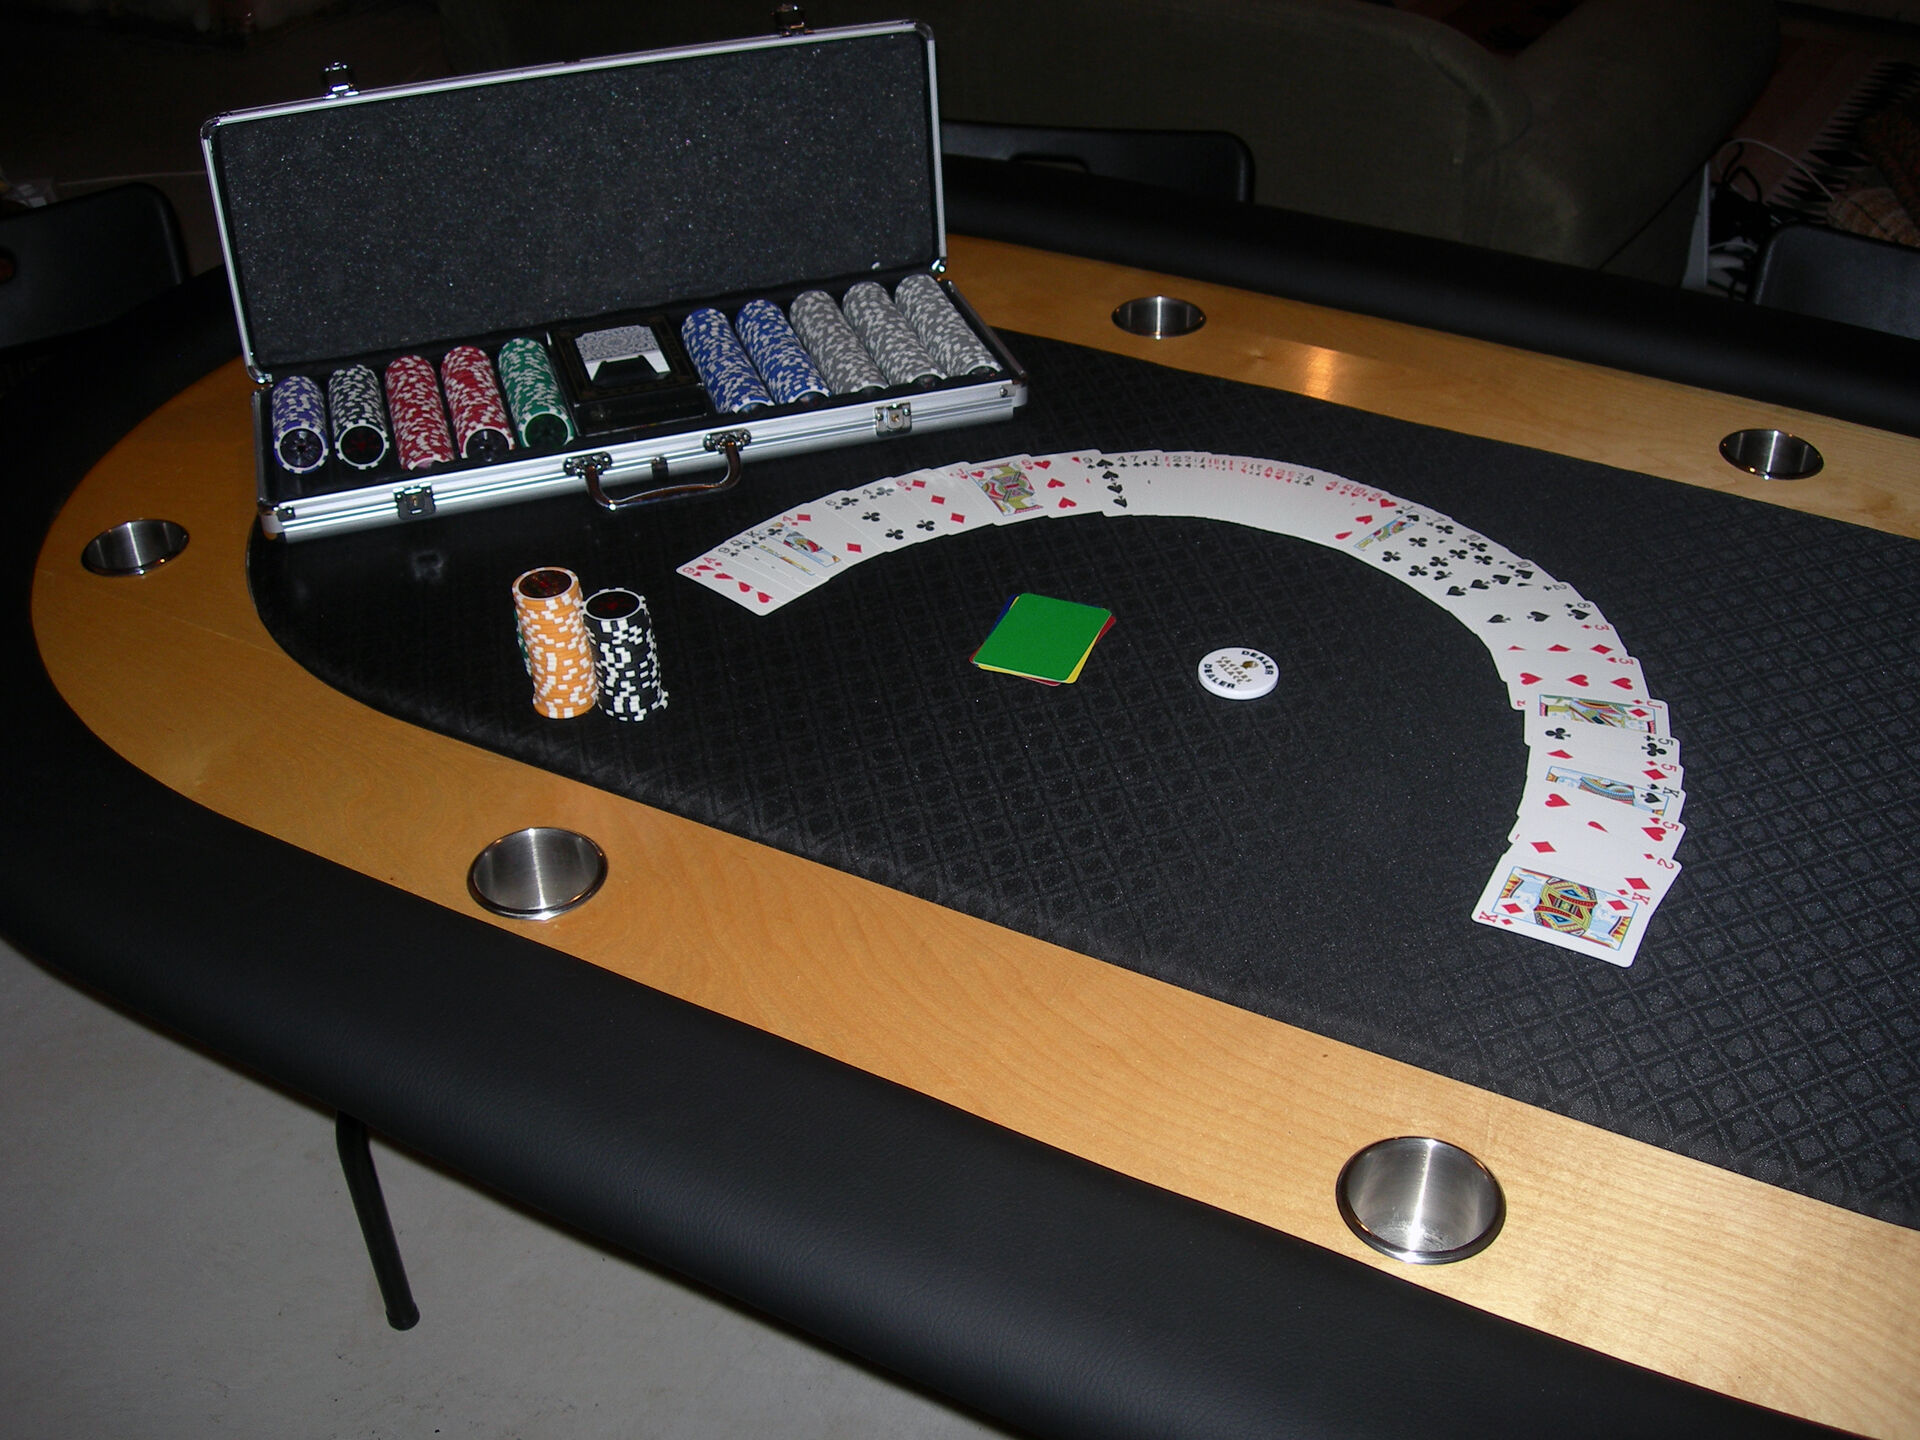
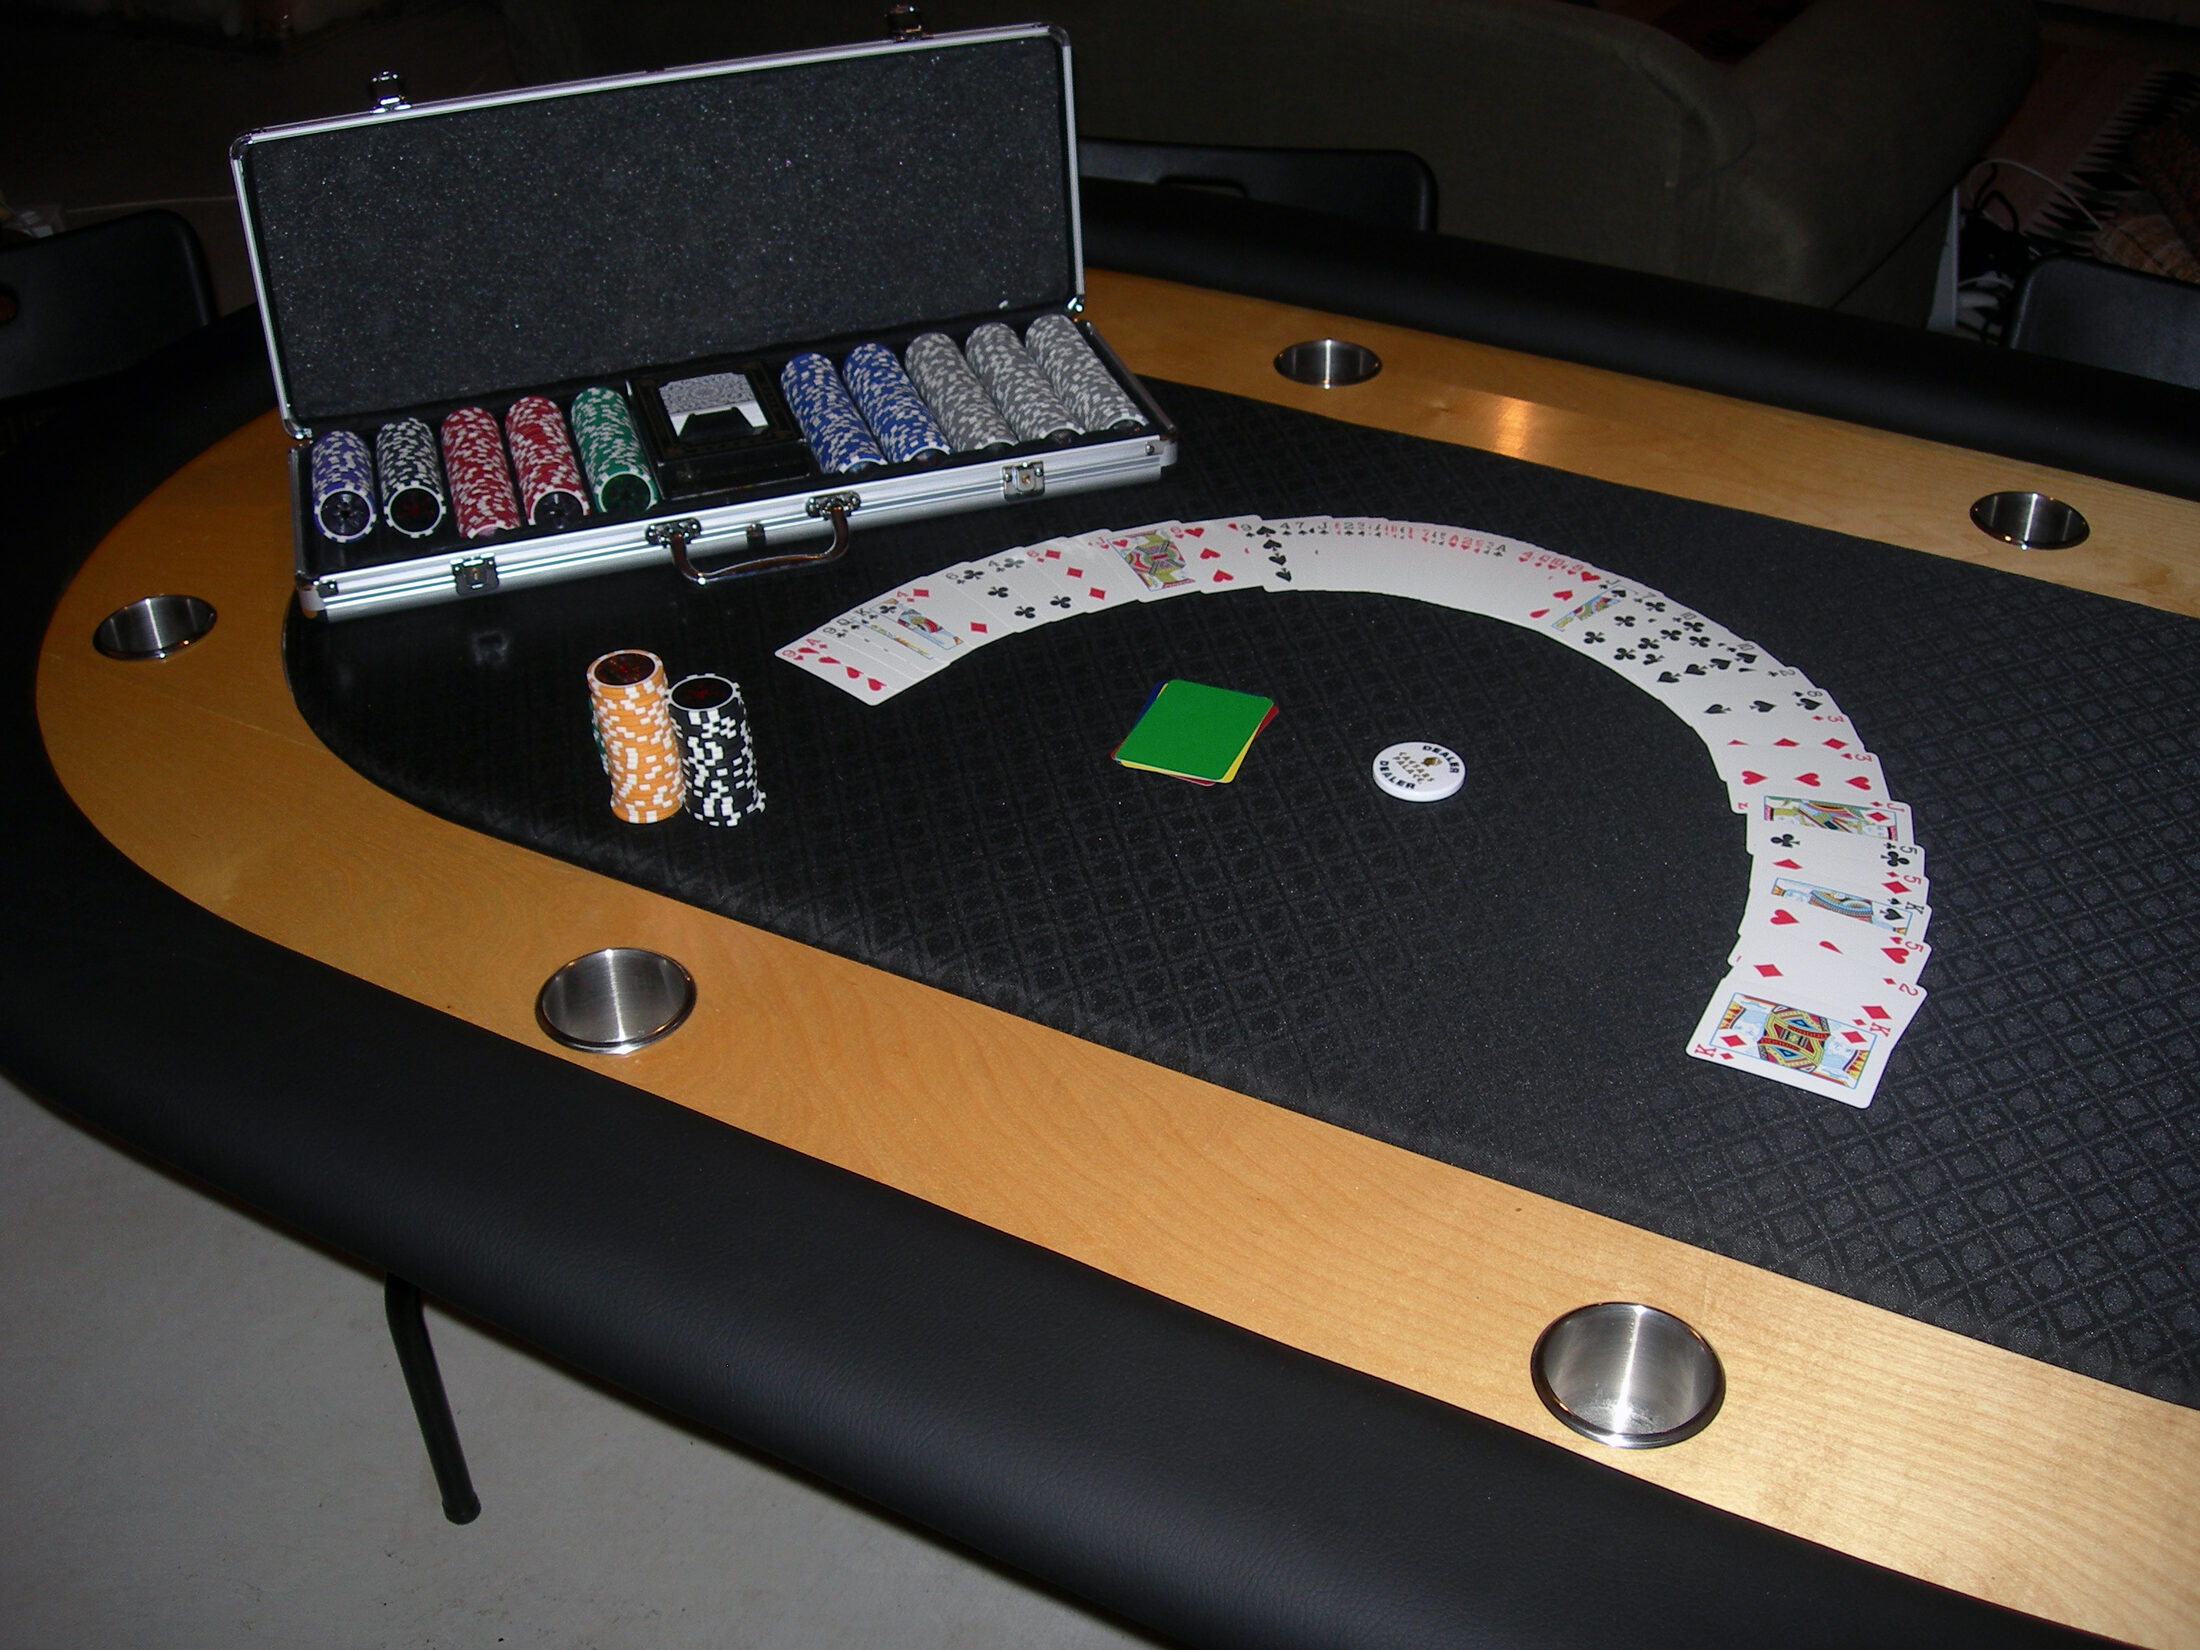
This guide walks you through building an 8-player racetrack table with a hardwood chip rail, stainless cup holders, a removable padded vinyl rail, and suited speed cloth. 10 detailed steps—each one a real phase of the build, not a single photo caption.
Work them in order the first time. You don’t need a commercial shop—a jigsaw, clamps, a hole saw, a staple gun, and careful measuring will get you a table that looks like it came from a casino supply catalog.
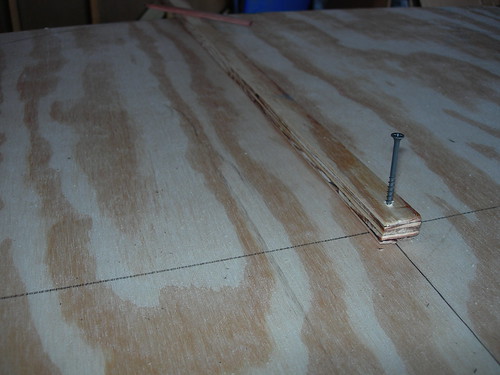
- 1Cut the Padded Rail BoardsLay out and cut the outer and inner rail arcs. This stack becomes your padded vinyl rail, so the curves set the whole table’s shape.
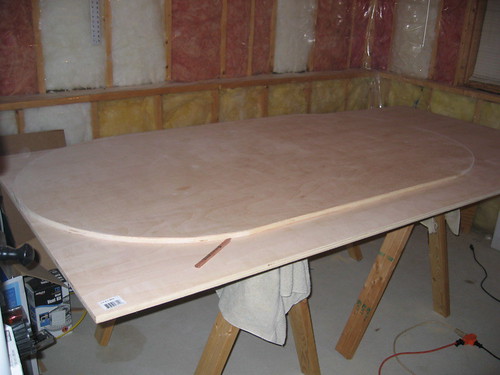
- 2Cut the Baseboard and RacewayCut the table base and separate the hardwood raceway ring from the center playing field. This is the most important woodwork of the build.
- 3Dry-Fit the Table LayersStack the baseboard, raceway, and center field without glue. Confirm fit and orientation before you commit.
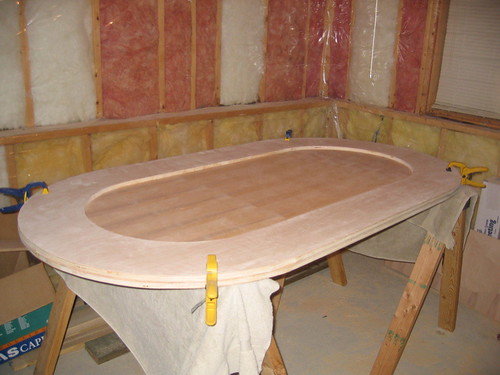
- 4Glue and Clamp the Table StructureGlue and screw the rail and raceway assemblies into one solid table. Clamp hard, wipe squeeze-out, and let the joints cure fully.
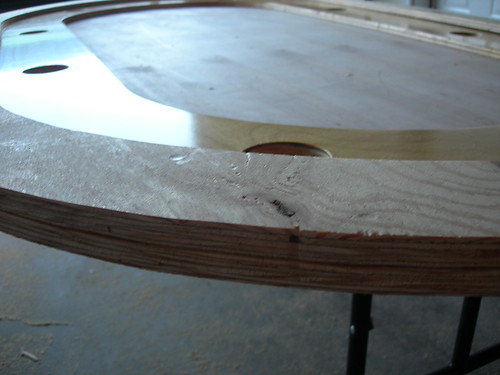
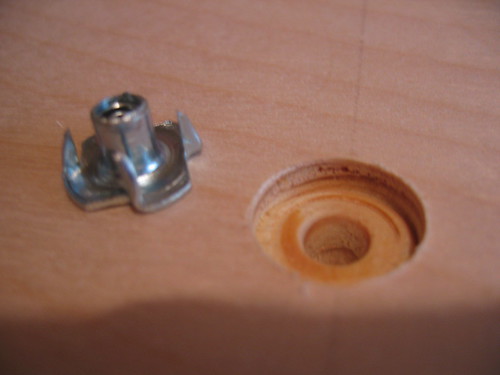
- 5Install Removable Rail HardwareSet T-nuts and bolt locations so the padded rail and center field can come off for cleaning and moving.
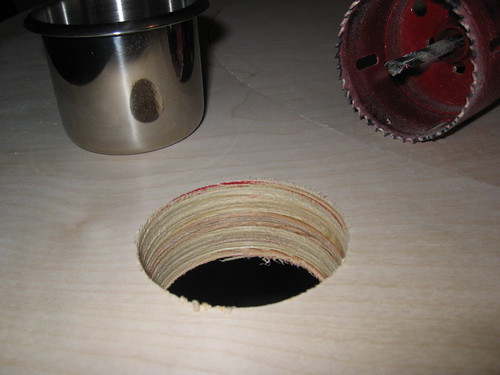
- 6Cut and Fit the Cup HoldersHole-saw clean openings in the raceway and dry-fit stainless drop-in cup holders before you finish the wood.
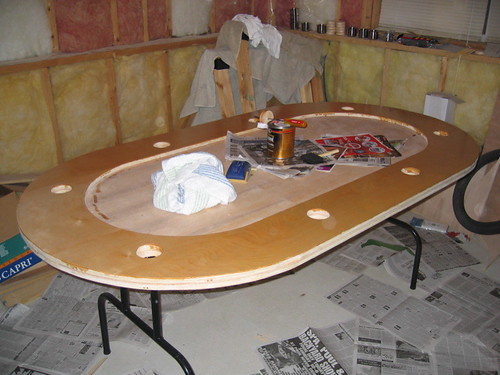
- 7Sand and Varnish the RacewaySand the hardwood raceway smooth and build a durable clear finish. Thin coats and patience are what make it look bought, not homemade.
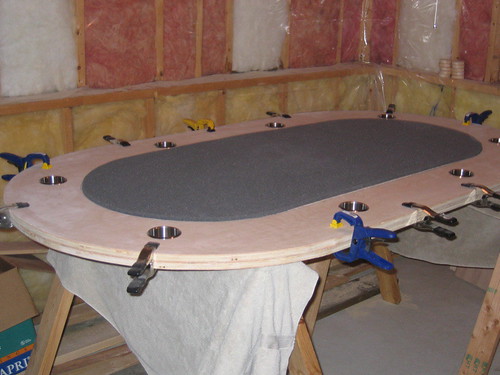
- 8Foam and Cloth the Playing FieldGlue closed-cell foam to the center insert, then stretch and staple suited speed cloth for a clean deal and card pickup.
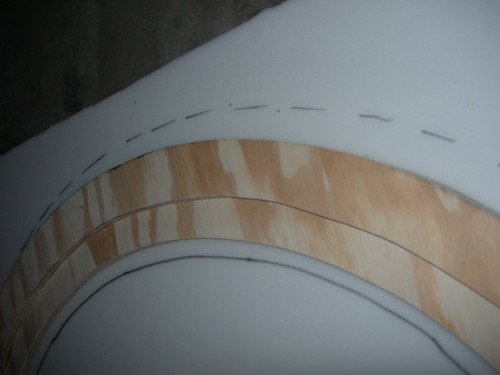
- 9Pad and Wrap the RailGlue high-density foam to the rail, then stretch vinyl around the outside and inside edges until it feels like a casino rail.
- 10Final AssemblyMount the legs, set the playing field and rail, drop in the cups, and put the table in play. Includes the full materials checklist.