Cut the Baseboard and Raceway
Cut the table base and separate the hardwood raceway ring from the center playing field. This is the most important woodwork of the build.
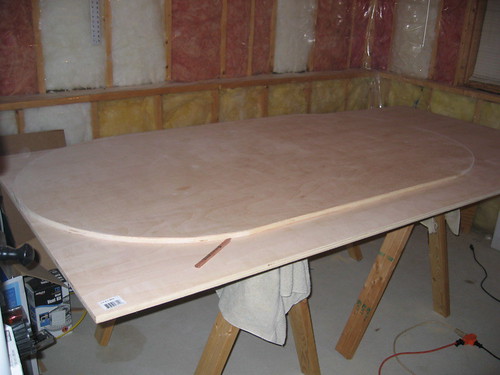
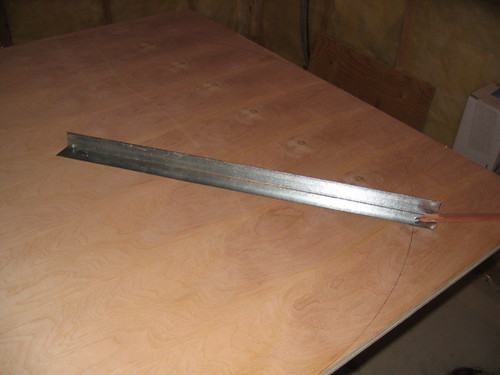
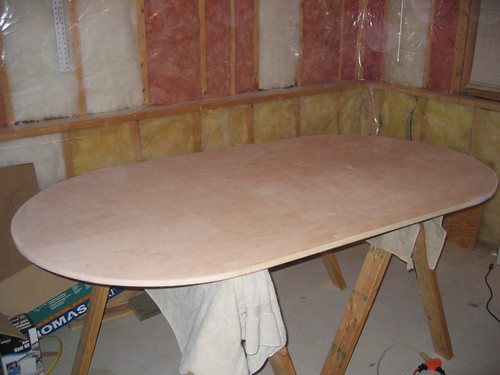
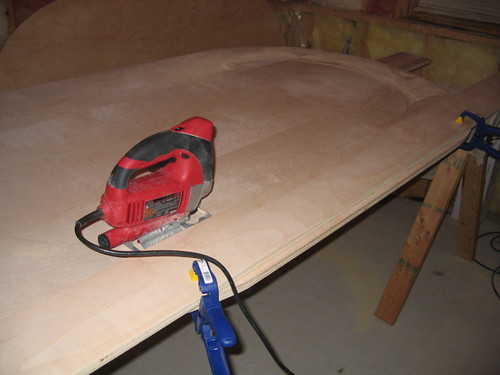
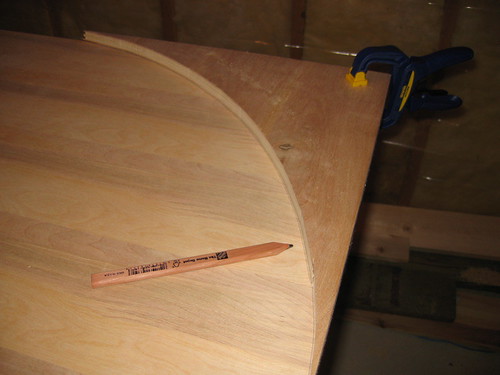
Table layout (top view)
Playing field, hardwood raceway, and 8 cup holders
What you’re building in this step
The structural oval of the table: a baseboard, a hardwood raceway ring (the chip rail), and a center insert that will later get foam and speed cloth.
Match the rail to the base
If you didn’t stack-cut both rail layers together, use the finished piece as a template. Trace it onto the mating board and cut to that line so the parts match.
Before you glue the rail stack, use the narrower lower rail as a template for the base. That lower half sits snug against the table, so transfer its real edge—including small imperfections—so the finished rail fits tight.
Tip: Clamp the template so it can’t shift. A 1/16“ slip shows up later as a gap.
Cut the baseboard
Cut a clean oval baseboard that will carry the raceway and playing field. Two sheets of 3/4“ birch plywood work well for the raceway/base assembly—birch takes a finish that looks like furniture. Nest your layouts on the sheet before cutting so you waste less of each panel.
Cut out the raceway (critical cut)
Separate the raceway ring from the center insert. The ring becomes your hardwood chip rail; the center becomes the padded playing field.
This is the most important cut of the project. Go smooth and steady. A wandering cut here is hard to hide.
A common layout measures 8 inches in from the outer edge all the way around. Use the same pivot method for the arcs, stepping the radius in by that amount from your original pivot hole. Cut the arcs first. Don’t rush: a hot, warped jigsaw blade will leave the line no matter how careful the layout was.
Tip: Keep spare blades on hand. Swap when the cut starts to feel rough.
Double-check before you glue
Dry-check the cut pieces against your layout marks—especially where curves meet the straight sides. Fair a drifted edge with a sanding block now. Label top/bottom and orientation in pencil on the underside so you don’t flip a piece during glue-up.
Useful for this step
Tools and supplies that match the work above. Full list on the materials and tools pages.
DEWALT Corded Jigsaw (DW331K)
Primary tool for outer/inner rail arcs and the raceway cut. Variable speed helps on long curves.
Fine-Tooth Wood Jigsaw Blades
Fine wood blades for cleaner arc cuts. Swap when the blade heats up or wanders.
Bar / Quick-Grip Clamps (Set)
Borrow or buy as many as you can—ten clamps around an 8-foot oval is not overkill.
25 ft Tape Measure
For radii, 8" raceway inset, and cup-holder spacing around the oval.
Carpenter Pencils (Pack)
Flat pencils stay put on plywood and mark clean compass arcs.
48" Drywall T-Square
Long straightedge for sheet layout and transferring lines across 4×8 plywood.