
Cut the Padded Rail Boards
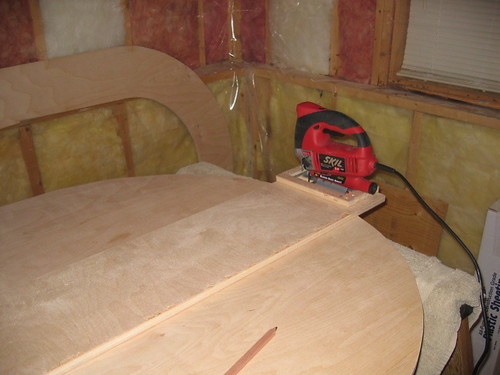
Lay out and cut the outer and inner rail arcs. This stack becomes your padded vinyl rail, so the curves set the whole table’s shape.
Rail cut diagram
Layout for a 4' × 8' plywood sheet — outer and inner rail arcs (8ft oval)
What you’re building in this step
Two matching oval rail boards (usually 1/2“ plywood) that will later get foam and vinyl. One layer is wider than the other so the finished rail sits correctly on the raceway.
Mark the outside radius
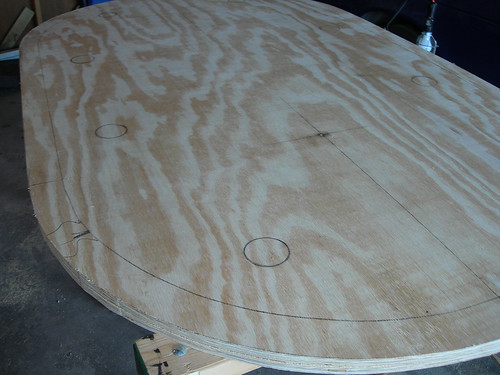
Draw the outside arc on what will be the top rail board. This curve is the overall footprint of your table. If you want anything smaller than a full 8-foot layout, size it down here—every later measurement references this outer edge.
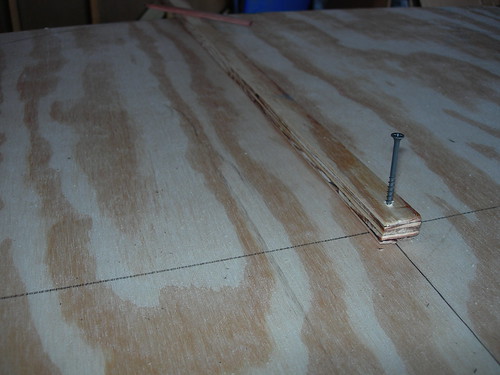
Make a simple compass: Find the center near one end of the board. Drive a nail or screw for a pivot (that center area gets cut out later). Swing a pencil at a fixed radius to mark the curve. Keep the pencil and pivot distance locked so both ends of the oval match.
If your jigsaw can handle the stack, clamp both rail boards together and cut the outside in one pass. That keeps the two layers identical.
Tip: Cut slowly with a fine wood blade. A rushed arc wanders, and you’ll fight that error through the rest of the rail.
Keep the geometry honest
Before you cut, check that the blade and pivot sit in a true line with the radius you’re swinging. If they don’t, you’ll get an uneven half-circle that won’t square up with the straight sides of the oval.
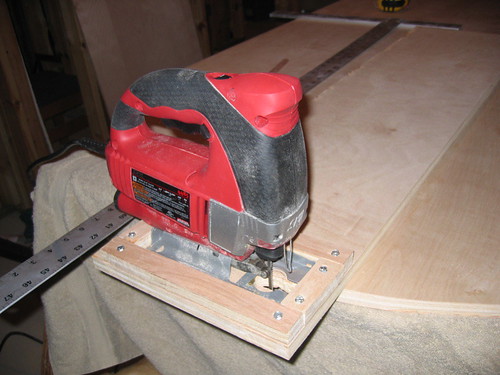
Some basic jigsaws don’t track well on a fixed pivot because the blade won’t scroll into the cut. If the blade binds or twists, mark carefully and cut freehand on the line—or build a jig only if your saw can follow a radius cleanly.
Cut the inside of the rail
With the outside cut, cut out the inside. The two layers are not the same width:
- Top rail board: about 3.5“ wide (overhangs the raceway)
- Bottom rail board: about 2.5“ wide (sits snug against the table base)
Use the same compass method for both inner arcs. Drill a pilot hole for the jigsaw, then cut along the line.
These inner edges disappear under foam and vinyl, so don’t obsess over a jewelry-perfect show edge. Do keep the width consistent all the way around so the rail sits evenly.
Optional: build a compass jig
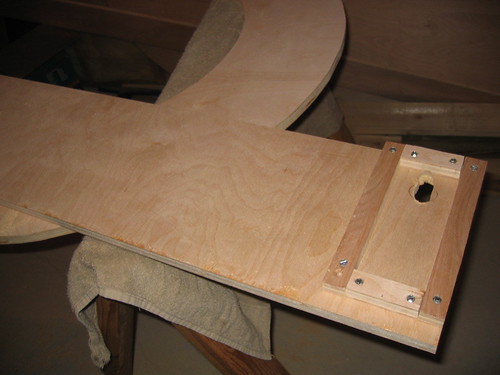
A scrap-wood pivot jig turns your jigsaw into a large compass—one end fixed at the radius center, the saw riding the arc. It works best with a saw that tracks a curve without binding. Try it on scrap first. When it works, outer and inner arcs stay consistent from end to end.
Feed the saw at a steady pace. If the blade heats up and starts to wander, pause, let it cool, and resume on the line. Support the offcut so it doesn’t drop and tear out the last few inches of the curve.
Useful for this step
Tools and supplies that match the work above. Full list on the materials and tools pages.
DEWALT Corded Jigsaw (DW331K)
Primary tool for outer/inner rail arcs and the raceway cut. Variable speed helps on long curves.
Fine-Tooth Wood Jigsaw Blades
Fine wood blades for cleaner arc cuts. Swap when the blade heats up or wanders.
Carpenter Pencils (Pack)
Flat pencils stay put on plywood and mark clean compass arcs.
25 ft Tape Measure
For radii, 8" raceway inset, and cup-holder spacing around the oval.
Swanson Speed Square
Quick square for marking and checking straight sections of the oval layout.
48" Drywall T-Square
Long straightedge for sheet layout and transferring lines across 4×8 plywood.