
Poker Table Builder
Build a poker table
worth playing on
A step-by-step guide for poker fans who want a real table in the garage, den, or game room—not a folding top that looks like a weekend craft project. When you’re done, friends and opponents will ask where you bought it.
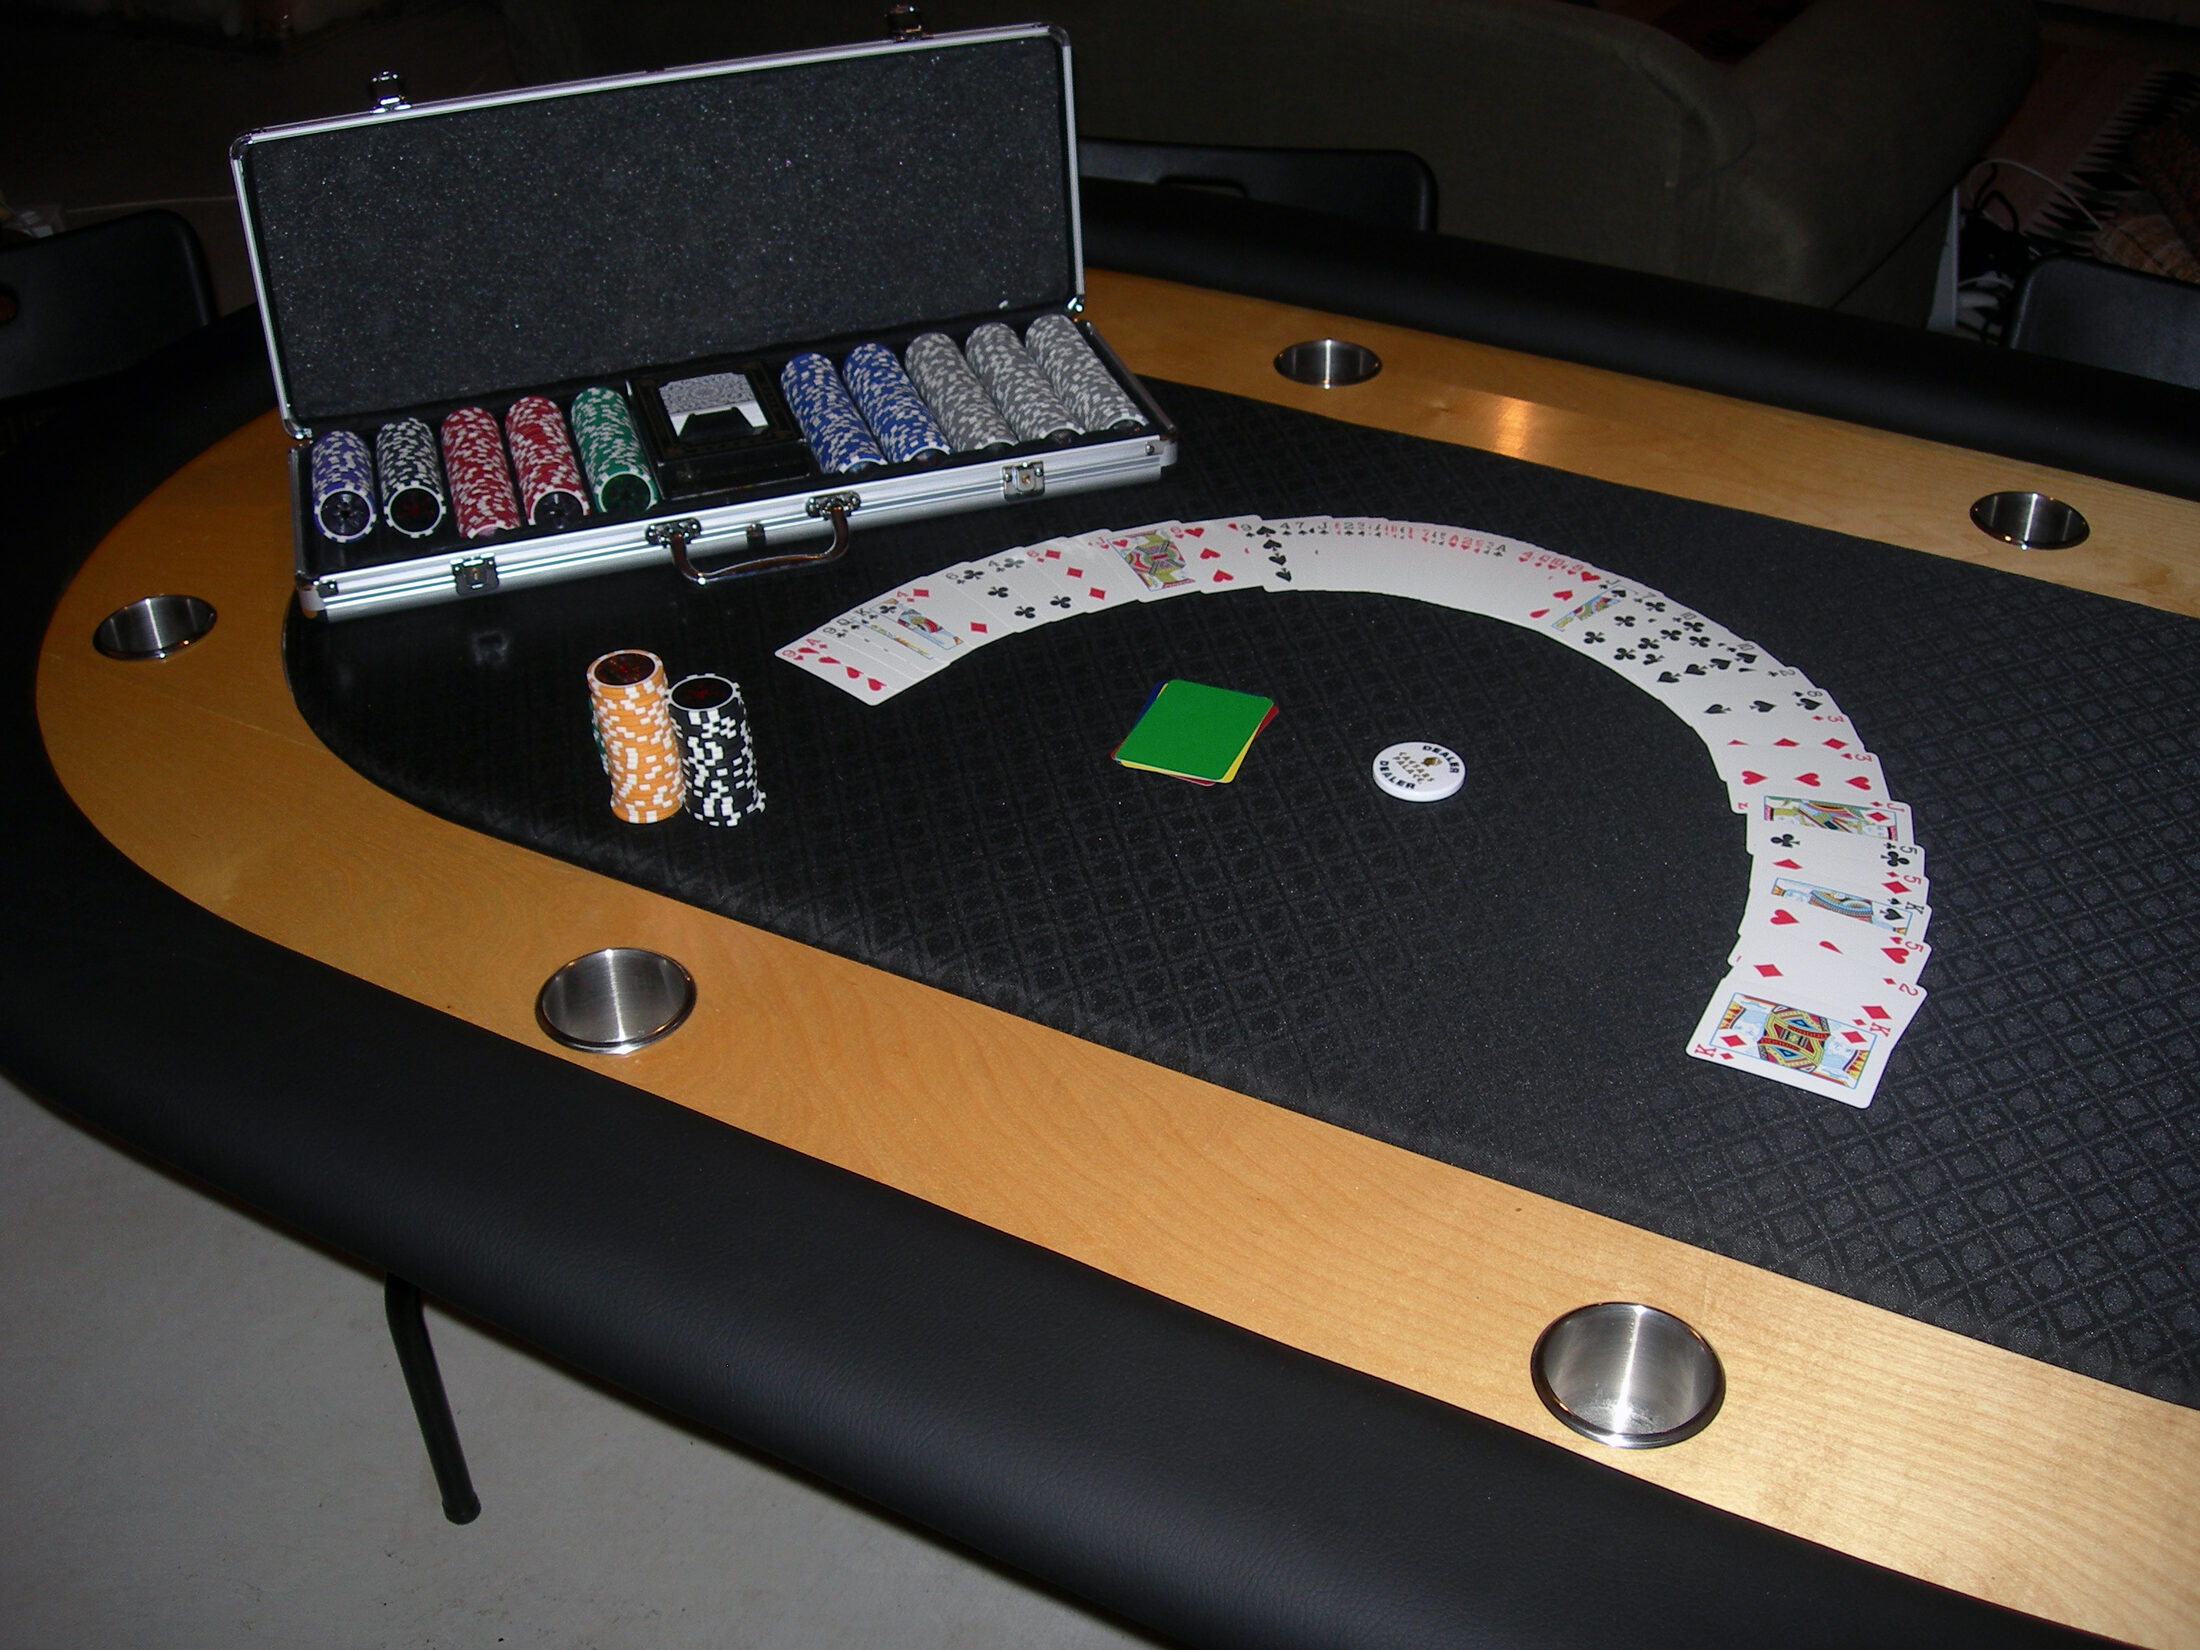
The finished table
Here’s what you’re building
An 8-player racetrack poker table with a raised hardwood chip rail, stainless cup holders, a removable padded rail wrapped in vinyl, and a suited speed-cloth playing surface. Built to look and feel like a casino table—scaled for a home game.
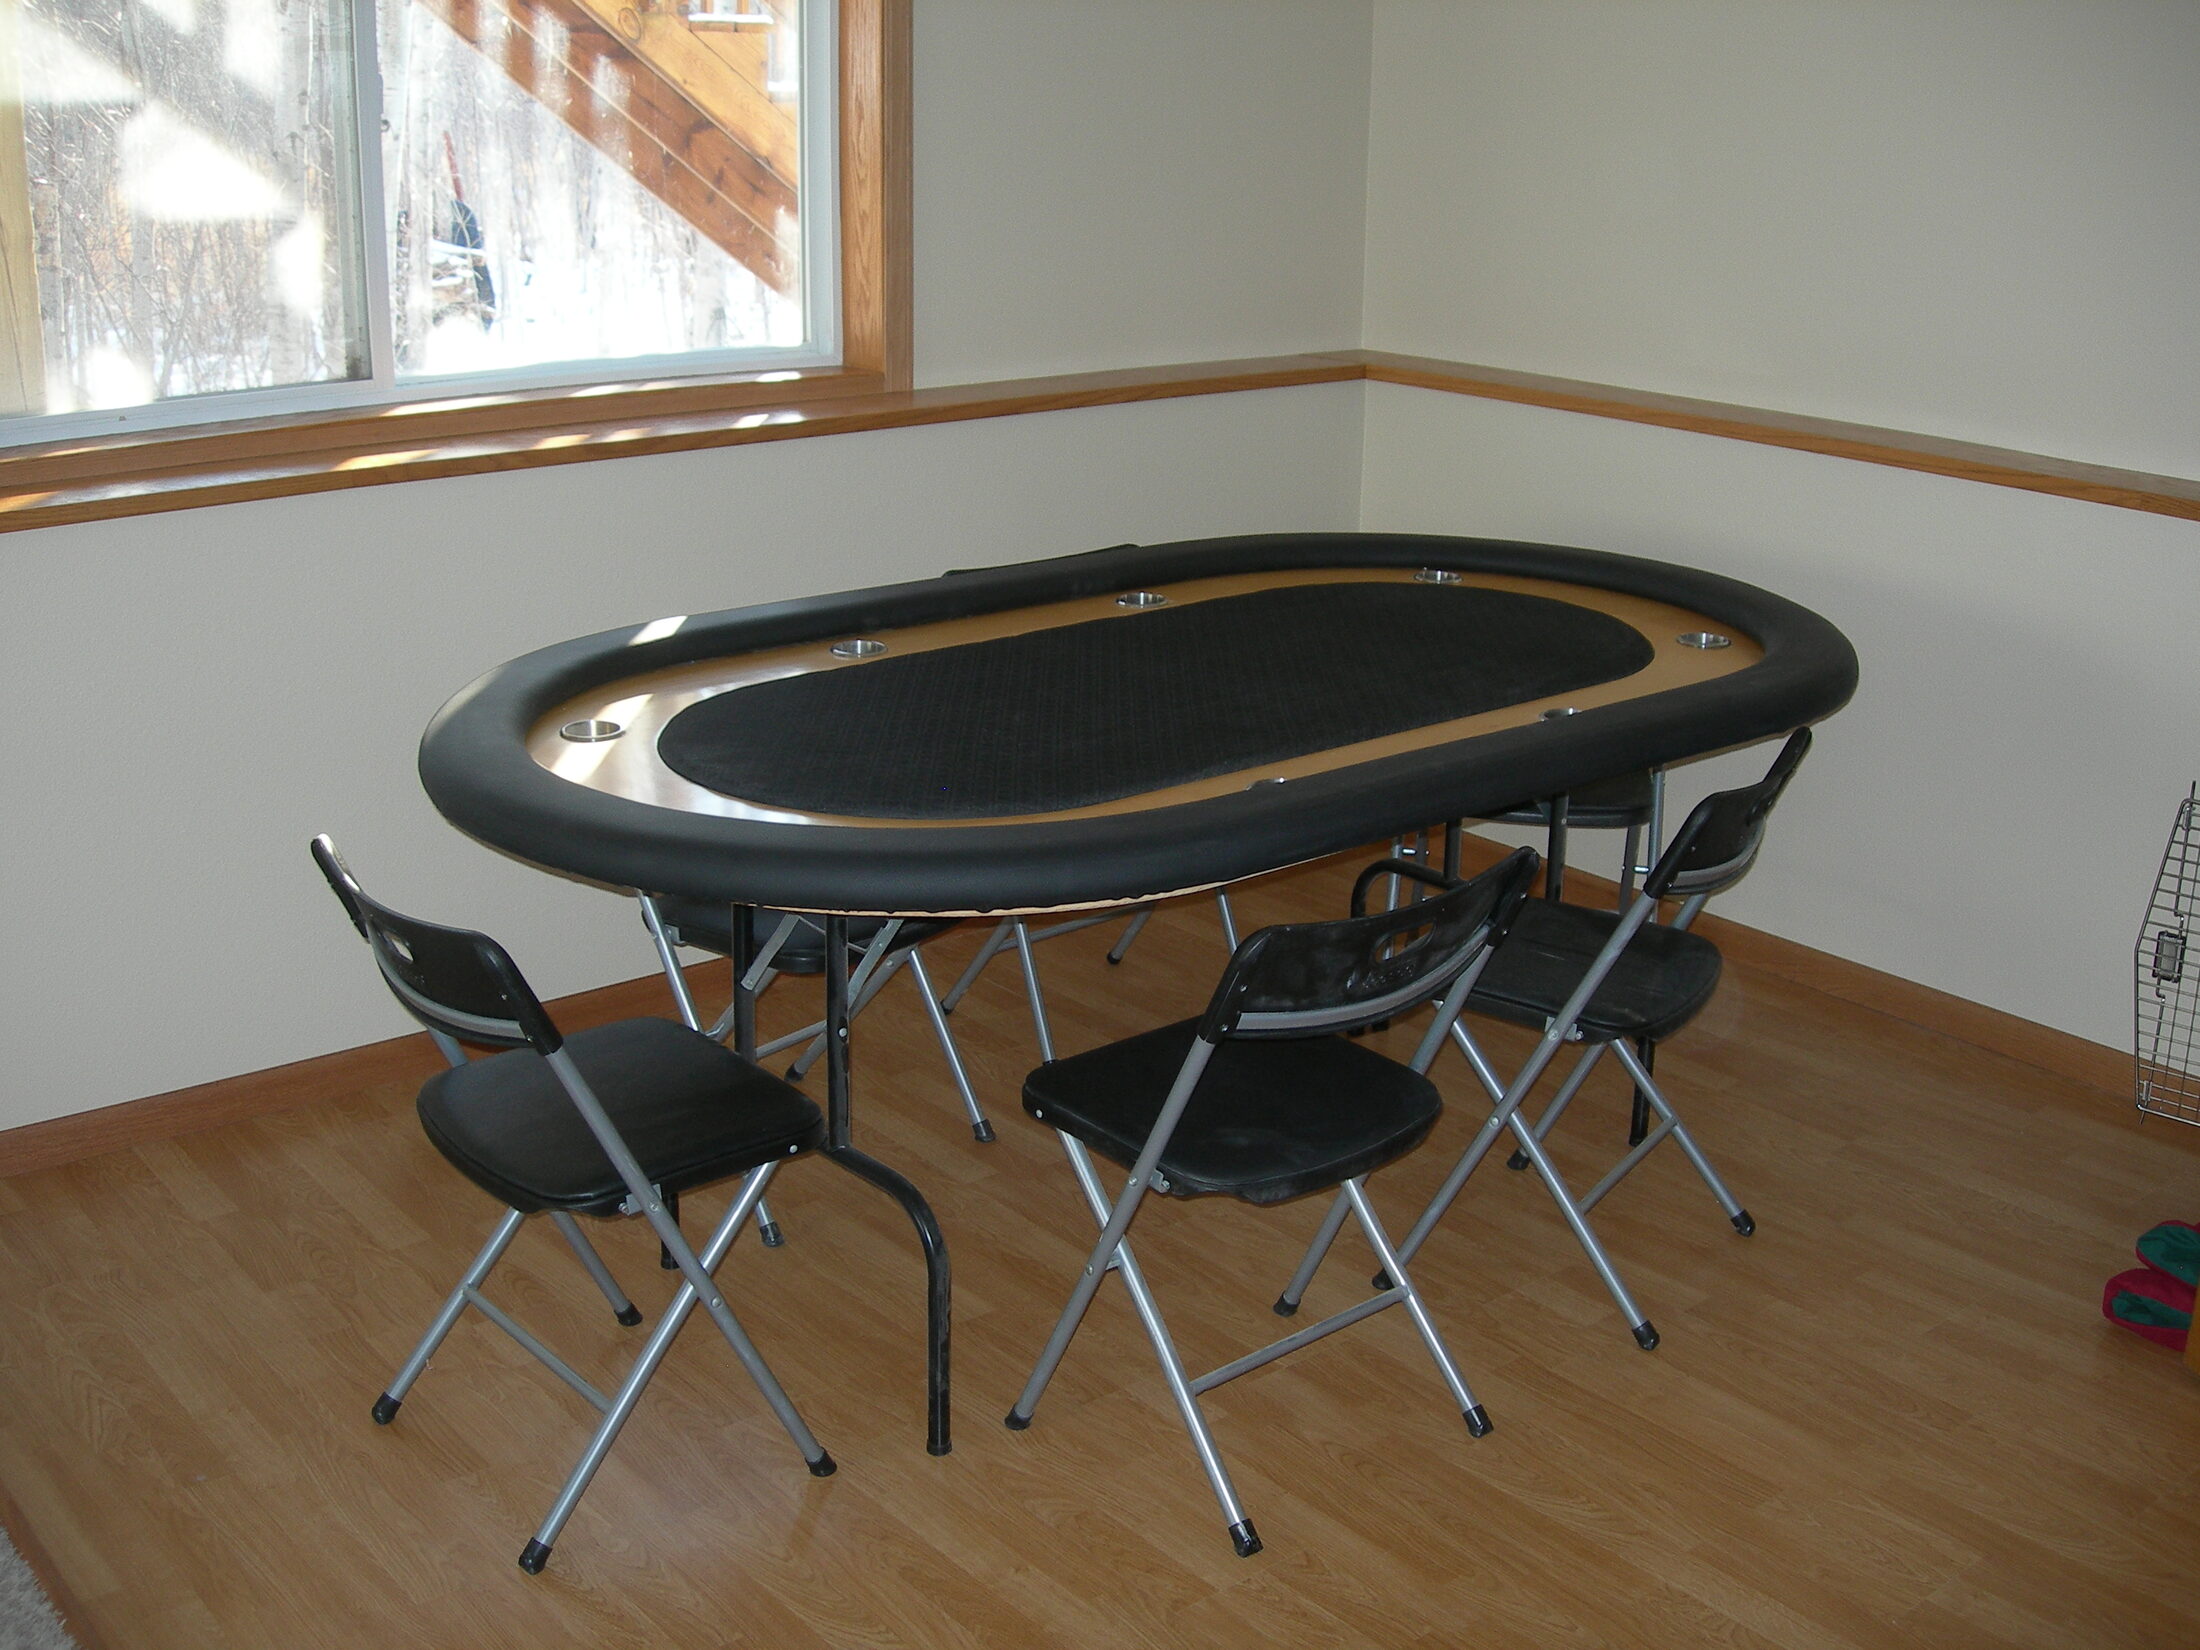
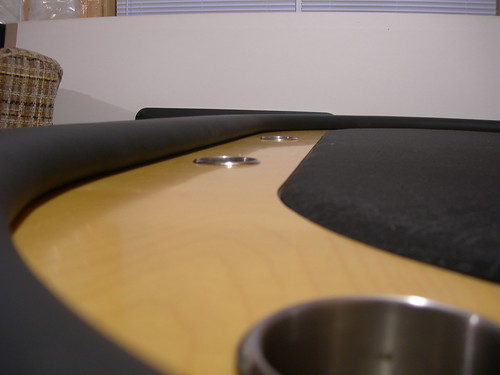
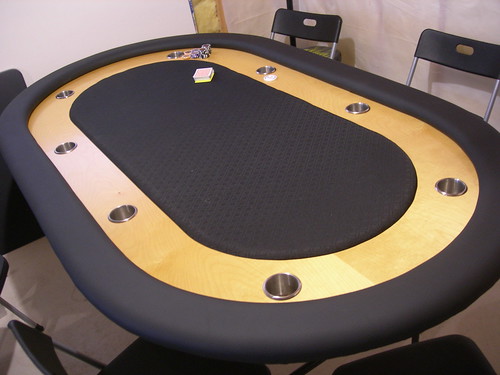
Hardwood raceway
A polished wood ring around the felt that holds chips, frames the action, and catches spills before they hit the cloth.
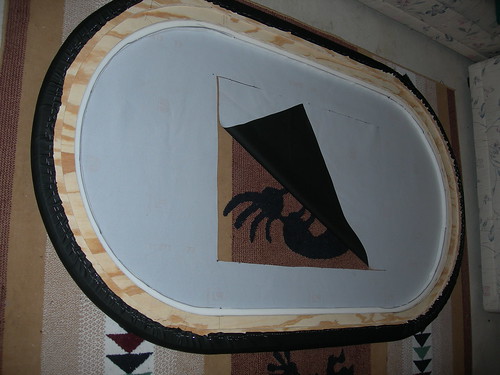
Removable padded rail
Foam-padded vinyl rail that bolts on with T-nuts—comfortable to lean on, easy to remove for cleaning or moving.
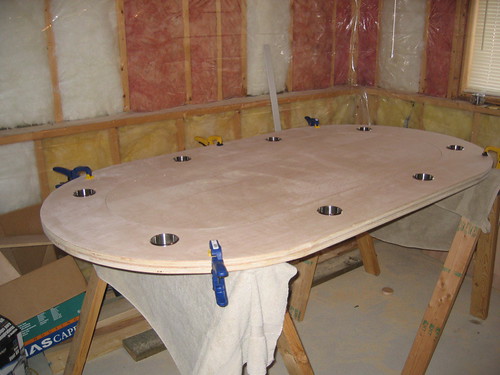
Cup holders & speed cloth
Eight drop-in stainless cups in the raceway, plus suited speed cloth over foam so cards deal clean and pick up right.
Folding-leg base
A solid plywood base on heavy folding legs—stable for hours of play, easy enough to store when the room needs its floor back.
How this guide works
Walk through the build in order
10 detailed steps, from the first radius cut to the finished vinyl wrap. Each one covers a full phase of the build—what to cut or assemble, why it matters, and practical tips so you don’t learn the hard way mid-project.
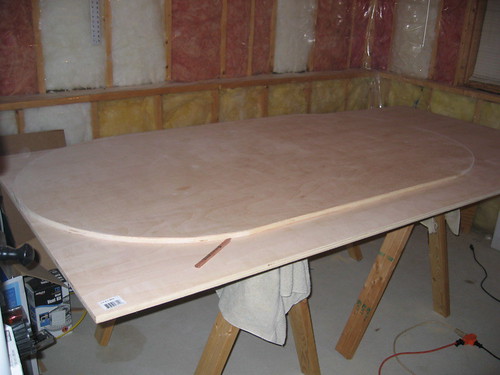
Steps 1–2
Cut the rail & raceway
Lay out arcs, cut the rail stack, then cut the baseboard and hardwood raceway ring.
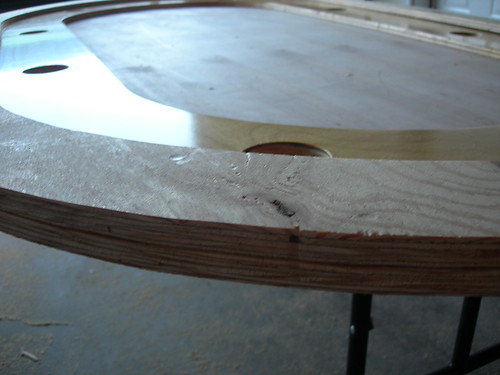
Steps 3–4
Dry-fit & glue
Prove the fit, then glue and clamp the table into one solid piece and let it cure.
Steps 5–7
Hardware & finish
Install T-nuts, cut cup-holder holes, sand, and varnish the raceway.
Steps 8–10
Cloth, vinyl & assemble
Foam and cloth the field, pad and wrap the rail, then put the finished table together.
Size your cuts before you buy lumber
Dial in table size and get a ballpark on plywood, cloth, and vinyl before you start cutting.
Table cut & materials estimator
Dial in size and options to sketch cut dimensions and a starter supply list.
Calculated cut blueprint
Starter supply checklist
10 steps
Every step of the build
Follow in order for the first build. Jump ahead when you’re revisiting a stage.
 1
1Cut the Padded Rail Boards
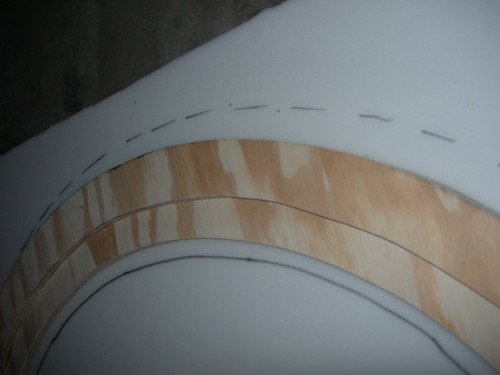
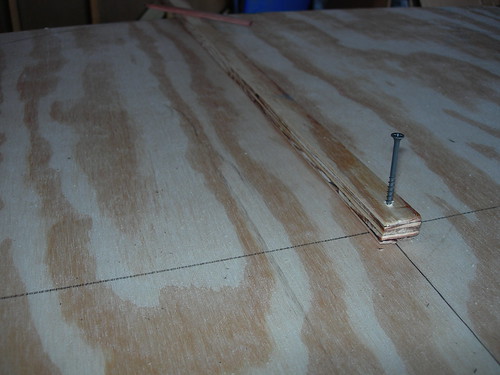
Lay out and cut the outer and inner rail arcs. This stack becomes your padded vinyl rail, so the curves set the whole table’s shape.
2Cut the Baseboard and Raceway
Cut the table base and separate the hardwood raceway ring from the center playing field. This is the most important woodwork of the build.
 3
3Dry-Fit the Table Layers
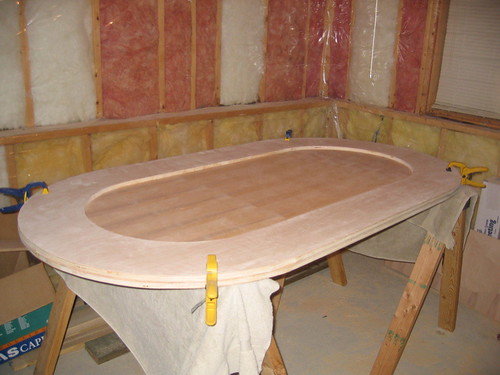
Stack the baseboard, raceway, and center field without glue. Confirm fit and orientation before you commit.
4Glue and Clamp the Table Structure
Glue and screw the rail and raceway assemblies into one solid table. Clamp hard, wipe squeeze-out, and let the joints cure fully.
 5
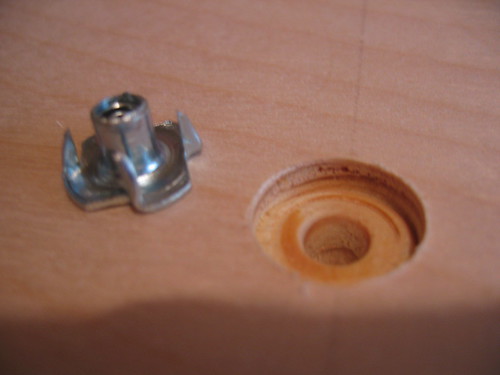
5Install Removable Rail Hardware
Set T-nuts and bolt locations so the padded rail and center field can come off for cleaning and moving.
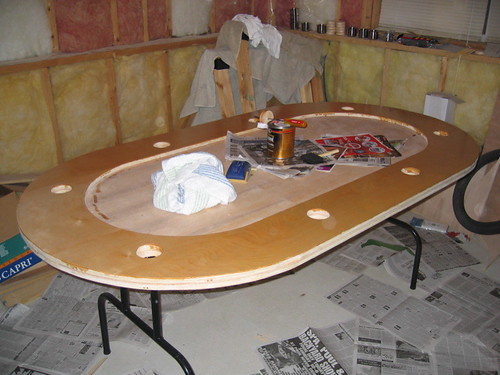
6Cut and Fit the Cup Holders
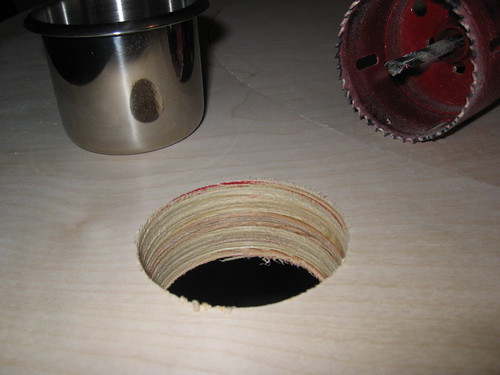
Hole-saw clean openings in the raceway and dry-fit stainless drop-in cup holders before you finish the wood.
 7
7Sand and Varnish the Raceway
Sand the hardwood raceway smooth and build a durable clear finish. Thin coats and patience are what make it look bought, not homemade.
 8
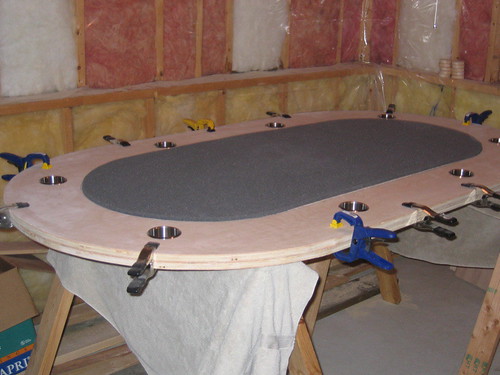
8Foam and Cloth the Playing Field
Glue closed-cell foam to the center insert, then stretch and staple suited speed cloth for a clean deal and card pickup.
9Pad and Wrap the Rail
Glue high-density foam to the rail, then stretch vinyl around the outside and inside edges until it feels like a casino rail.
10Final Assembly
Mount the legs, set the playing field and rail, drop in the cups, and put the table in play. Includes the full materials checklist.
Layout
Oval raceway layout
Playing field, hardwood raceway, and cup-holder ring—drawn for a standard 8-foot table.
Table layout (top view)
Playing field, hardwood raceway, and 8 cup holders
Supplies
Core gear for the build
A few high-use items from the full list—cloth, cups, jigsaw, and staple gun.
Brybelly Suited Speed Cloth (10 ft, Black)
Suited speed cloth for a smooth deal. Stretch over foam on the center field.
Amarine Stainless Cup Holders (9-pack)
Marine-grade stainless drop-ins with drain holes. Sized for common 2-7/8" raceway openings.
DEWALT Corded Jigsaw (DW331K)
Primary tool for outer/inner rail arcs and the raceway cut. Variable speed helps on long curves.
Arrow T50 Heavy-Duty Staple Gun
For stretching speed cloth and vinyl under the rail. Use with T50 staples.
Common questions
Straight answers if you’re deciding whether to build.
- Can I build a poker table at home?
- Yes. This guide walks you through an 8-player racetrack poker table using a jigsaw, clamps, a hole saw, and a staple gun—no commercial woodshop required. Careful measuring and patience on the finish matter more than exotic tools.
- What kind of table does this guide build?
- A freestanding racetrack table with a hardwood chip rail, stainless cup holders, a removable padded vinyl rail, and suited speed cloth—built to look like a casino table in a garage, den, or game room.
- How long does the build take?
- Plan on several weekends. Cutting and glue-up can move faster; varnish coats and vinyl wrapping reward slow, careful work. Glue needs a full day to cure before you drill hardware.
- Where do I start?
- Start with the build guide, size your cuts in the calculator, then pull the materials list before you buy lumber.