
Glue and Clamp the Table Structure
Glue and screw the rail and raceway assemblies into one solid table. Clamp hard, wipe squeeze-out, and let the joints cure fully.
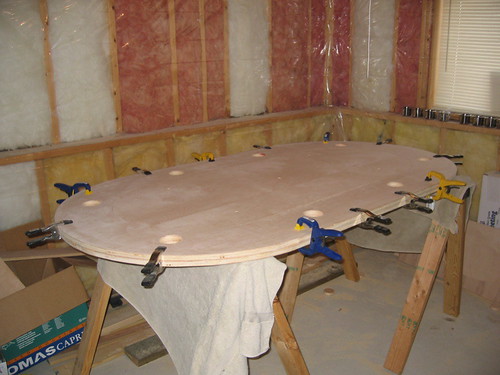
What you’re building in this step
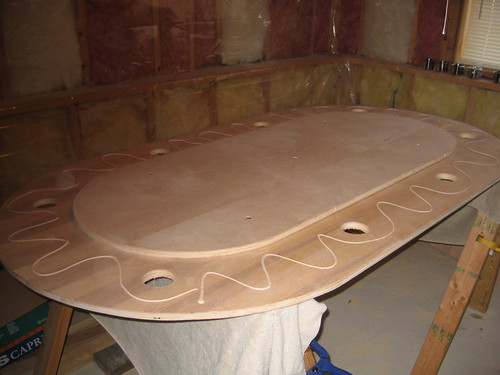
A rigid table core: rail boards glued into a stack, and the raceway bonded to the baseboard so nothing rocks when players lean in.
Glue the rail stack
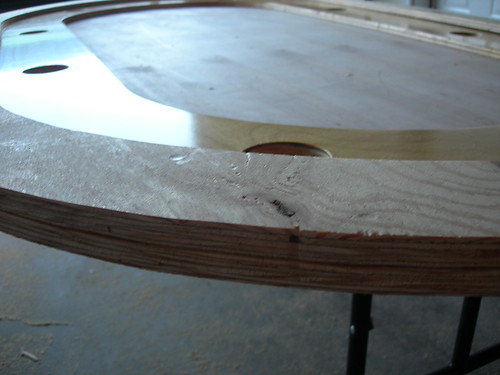
For the two rail boards, run a continuous bead of wood glue between the layers, clamp all around the oval, and add a few wood screws for insurance. Work methodically so nothing slides out of square.
Wipe squeeze-out before it skins over. Dried glue on a show edge means extra sanding—or a shiny spot under varnish.
Support cuts and clamps
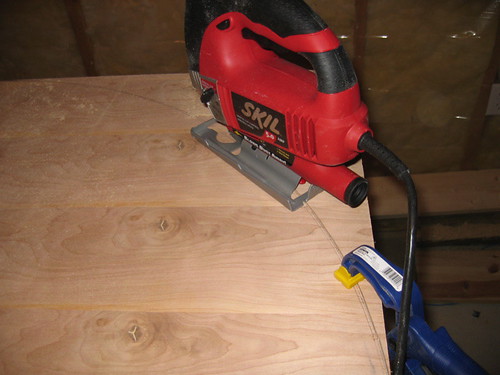
When you’re still cutting large oval parts, support the waste side so the offcut can’t fall away and tear out the edge. With a jigsaw, keep the finished face up. Borrow more clamps than you think you need—even pressure around a curve beats three clamps crushing one spot.
Glue the raceway to the base
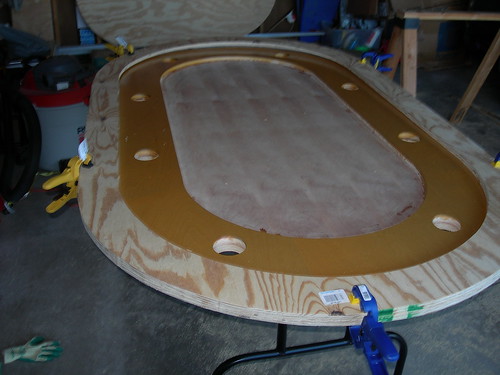
Bond the raceway to the baseboard with a generous, even glue film. Starving the joint leaves hollow spots later. Clamp heavily around the oval—ten clamps on an 8-foot table is not overkill. Check for flatness as you tighten so the raceway seats fully instead of rocking on a glue ridge.
Tip: Dry-stage your clamp positions before the glue is open so you’re not hunting for reach mid-glue-up.
Let it cure
Leave the assembly alone for at least 24 hours before you drill for T-nuts or put stress on the joints. “Dry to the touch” is not cured. While you wait, you can plan hardware layout or prep the center insert—just don’t disturb the clamped stack.
Write the glue-up time on a piece of tape stuck to the table. It’s easy to guess wrong the next morning.
Useful for this step
Tools and supplies that match the work above. Full list on the materials and tools pages.
Titebond II Wood Glue
Wood glue for the rail stack and raceway-to-base glue-up. Clamp while it cures.
Bar / Quick-Grip Clamps (Set)
Borrow or buy as many as you can—ten clamps around an 8-foot oval is not overkill.
Wood Screws Assortment
Extra screws for the rail stack and base. Also handy as temporary compass pivots (in scrap areas).
Cordless Drill / Driver
Pilot holes, T-nut install, cup-holder hole saw, and driving screws.