
Apply the foam padding or headliner material to your center piece using the 3m 77 spray adhesive. This is some powerfully fumy stuff so make sure it’s well ventelated. Spray both the wood and the foam, then cut to fit after the glue has dried. The 3/8″ foam I used behind my playing surface was too think for my taste. If I did it over I would use 1/4″ closed cell foam or better yet, neoprene.
I used a hobby razor kit to cut it but any old razor or sharp knife will do. Just make sure you are careful because imperfections here will show up on your final table.
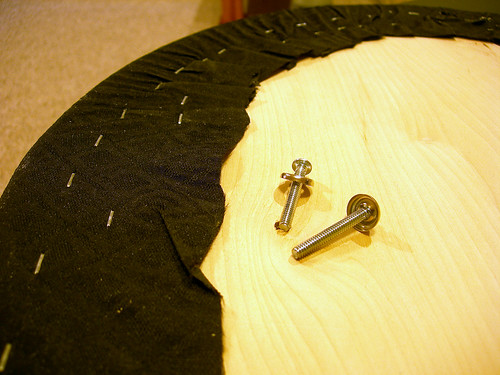
Now you can put on the suited speed cloth. It’s pretty basic. Leave about 4″ around and cut it out. Then make sure it’s strait and stable it on. Make sure you pull it tight and put a lot of staples – about an inch apart. Then use your razor to cut off the excess.

